Hover on question text: Difference between revisions
From Catglobe Wiki
More actions
No edit summary |
No edit summary |
||
| (One intermediate revision by the same user not shown) | |||
| Line 8: | Line 8: | ||
''please remember that you must have an id.'' | ''please remember that you must have an id.'' | ||
see below | eg: <syntaxhighlight lang="html"> | ||
<p id="myid"><span style="color:#FF0000;"><strong>this will be shown when you hover on question text</strong></span></p> | |||
</syntaxhighlight> | |||
see below screenshot: | |||
[[File:Hover text .png|none|thumb|1092x1092px]] | [[File:Hover text .png|none|thumb|1092x1092px]] | ||
| Line 21: | Line 25: | ||
injectStyles('.cg-ui-text #myid { display: none; } .cg-ui-text:hover #myid,.cg-ui-text:focus #myid { display: block; }'); | injectStyles('.cg-ui-text #myid { display: none; } .cg-ui-text:hover #myid,.cg-ui-text:focus #myid { display: block; }'); | ||
</syntaxhighlight>please see | </syntaxhighlight>please see screenshot to get more: | ||
[[File:Hover js.png|none|thumb|976x976px]] | [[File:Hover js.png|none|thumb|976x976px]] | ||
Latest revision as of 04:40, 22 June 2017
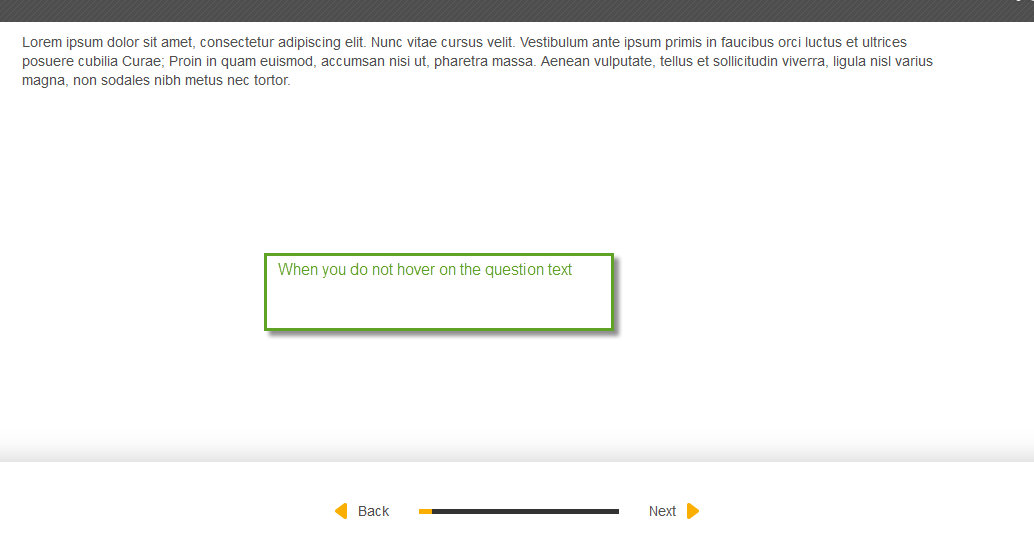
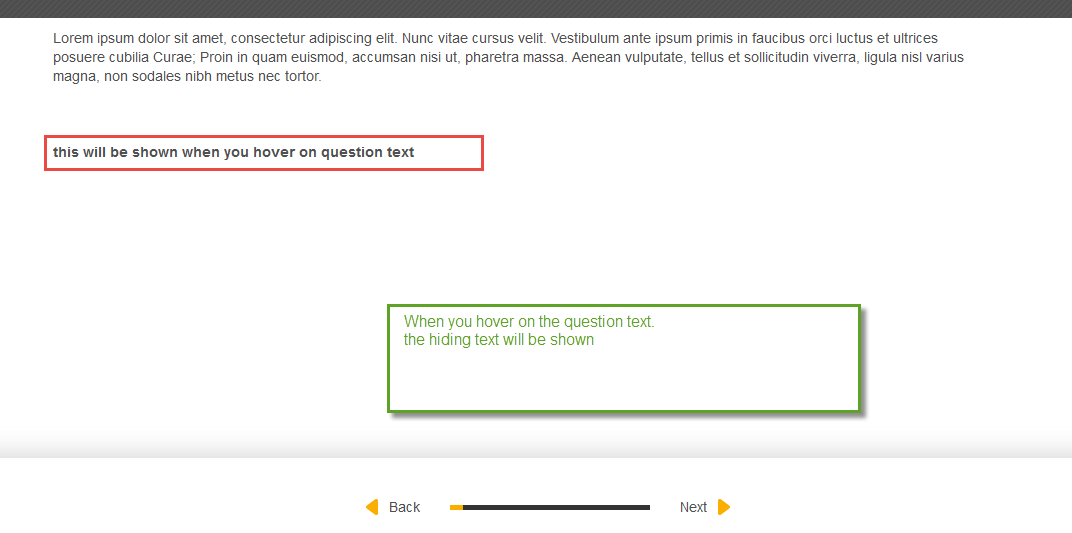
If you want to show a hiding text of a question text's part with mouseover like below:


It is easy with following solution.
1. Create your hiding text and put it on html element with an id
please remember that you must have an id.
eg:
<p id="myid"><span style="color:#FF0000;"><strong>this will be shown when you hover on question text</strong></span></p>
see below screenshot:

2. Copy following code and paste it into javascript tab on your question with changing the id on it
function injectStyles(rule) {
var div = $("<div />", {
html: '­<style>' + rule + '</style>'
}).appendTo("body");
}
injectStyles('.cg-ui-text #myid { display: none; } .cg-ui-text:hover #myid,.cg-ui-text:focus #myid { display: block; }');
please see screenshot to get more:

3. Save, test and get a nice result.
The end of documentation.
